Introduction
If your lawn looks healthy but still feels unfinished, it’s probably missing one key detail: clean, defined edges. Edging your lawn separates grass from sidewalks, driveways, garden beds, or patios—and makes the entire yard look professionally maintained. The good news? You don’t need a landscaping crew to do it. With the right tools and technique, you can edge your lawn yourself in under an hour.
What You’ll Need
- Manual edger (half-moon or rotary) or powered edge trimmer
- Flat-blade shovel (for reshaping or trenching if needed)
- Push broom or leaf blower
- Work gloves and eye protection
- String and stakes (for perfectly straight lines)
Before You Begin
Wait for a dry day. Wet soil will stick to your tools and may leave a messy trench. Also, mow your lawn first—it’ll make it easier to see where the grass ends and edging begins.
Step 1: Mark Your Edging Line
Use string and two wooden stakes to mark a straight line if you’re working next to a sidewalk or driveway. For curved beds or patios, simply follow the natural line of the border. Stand back and look from different angles before cutting—this is your only chance to fix the curve without re-edging.
Step 2: Choose Your Edger
- Manual half-moon edger: Ideal for control and clean, defined lines. Best for smaller lawns.
- Rotary edger: Has a spiked wheel for more consistent curves along beds.
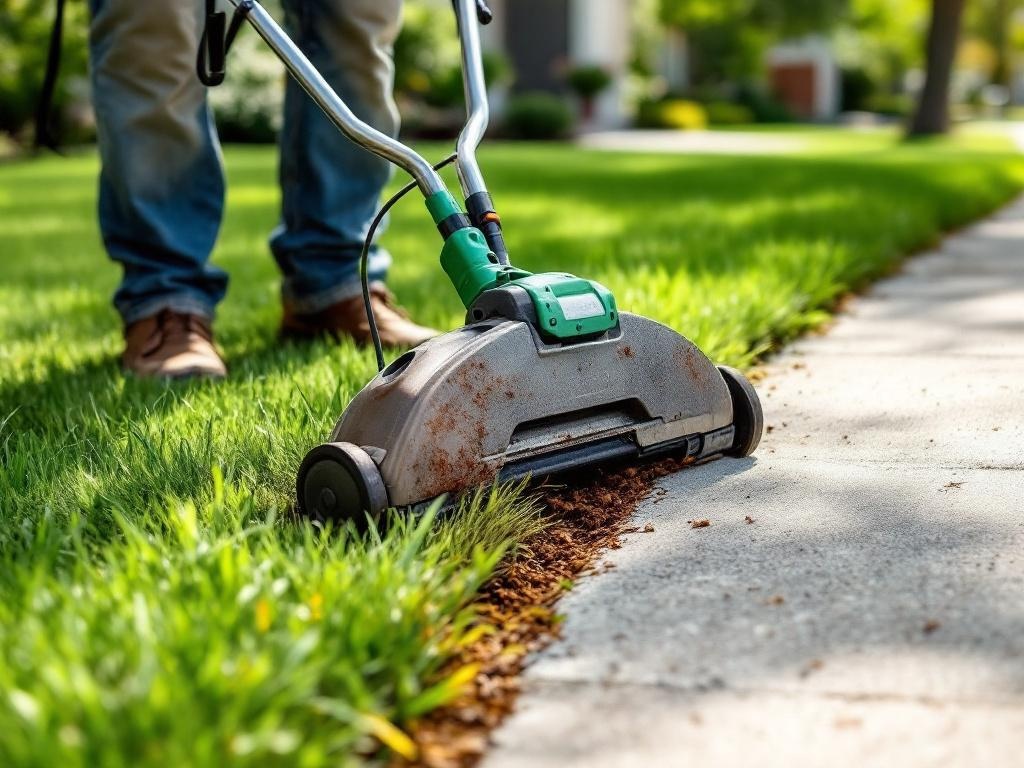
- Power edger or string trimmer: Faster but can be harder to control. Use a guide or go slow.
Step 3: Cut the Edge
- Insert your edger into the grass, pressing down firmly with your foot for a clean vertical slice. Aim for a depth of 2–3 inches.
- Move in small increments—6 to 12 inches at a time—sliding the blade along the marked edge.
- If you’re working with curves, pivot from your back foot for smoother arcs.
Pro Tip: Don’t tilt the tool inward or outward. You want a straight vertical trench—not a wedge shape.
Step 4: Remove Excess Sod
Once you’ve cut the line, you’ll notice strips or clumps of grass hanging over. Use a flat-blade shovel or gloved hands to remove this excess sod. This clears the trench and makes the edge pop.
Step 5: Clean the Edges
Use a push broom or leaf blower to clean up dirt clumps and leftover debris. This gives you a clear view of the finished edge and makes it easier to identify any areas that need retouching.
Step 6: Maintain Every 2–3 Weeks
Once you've established a clean edge, maintenance is easy. Use a string trimmer vertically to keep the trench neat, or re-use your edging tool quickly without needing to remeasure.
Edge Profiles: Which Style Should You Choose?
| Edge Type | Description | Best For |
|---|---|---|
| Vertical Edge | Straight down, 90° cut | Formal lawns, driveways |
| Beveled Edge | Sloped inward slightly | Garden beds, decorative use |
Common Mistakes to Avoid
- Rushing the line: Uneven curves or zig-zags are difficult to correct.
- Edging too shallow: The grass will grow back into the crack quickly.
- Not cleaning up: Leaving debris behind ruins the effect and encourages weed growth.
- Using a trimmer horizontally: This shears the grass unevenly instead of creating a trench.
Optional Enhancements
- Install plastic or steel edging strip: Prevent grass from growing back into sidewalks.
- Use dark mulch or gravel on one side: Contrast makes the edge stand out.
- Apply pre-emergent: Helps prevent weeds along the border.
How Often Should You Edge?
Every 2–3 weeks during the growing season (spring through early fall). You can extend this if your lawn grows slowly or if you’ve installed a hard border like brick or steel edging.
Estimated Time & Cost
| Task | Time | Cost |
|---|---|---|
| Manual edging tool | 1 hour (medium yard) | $25–$40 |
| Power edger (corded/battery) | 30–45 minutes | $60–$120 |
Final Thoughts
Lawn edging may seem like a small detail, but it creates a massive visual upgrade. Whether you're selling your home or simply want to take pride in your yard, this one-hour project delivers instant results. With the step-by-step method outlined above, you can edge like a pro—no landscaper required.