Introduction
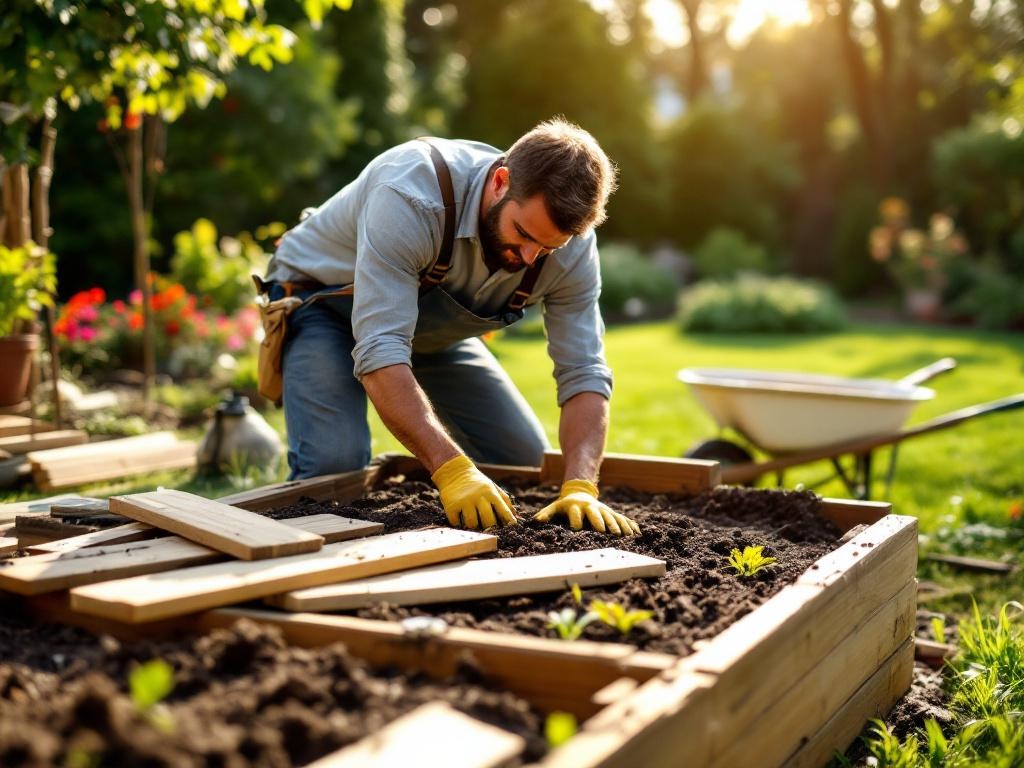
If you’ve ever thought about growing your own vegetables, herbs, or flowers, building a raised garden bed is one of the easiest and most rewarding lawn projects a homeowner can take on. It’s a beginner-friendly DIY that requires minimal tools and provides long-term benefits—better soil control, improved drainage, and fewer weeds.
Benefits of Raised Garden Beds
- Improved soil quality: You choose the soil blend, perfect for poor native soil.
- Better drainage: Ideal for wet climates or clay-heavy ground.
- Fewer weeds: Adding a barrier or landscape fabric prevents weed intrusion.
- Less bending and straining: Easier on your back and joints compared to ground-level gardening.
Tools & Materials Needed
- 4 untreated cedar or pine boards (2”x10”x8’ recommended)
- Wood screws (3" deck screws)
- Drill or impact driver
- Measuring tape
- Level (optional but helpful)
- Topsoil and compost (about 1.5 cubic yards)
- Weed barrier or cardboard
- Optional: corner brackets, landscape fabric, mulch
Step 1: Choose the Right Location
Pick a spot in your yard that gets at least 6–8 hours of direct sunlight per day, especially if you’re planting vegetables or herbs. Make sure the ground is relatively level, and consider proximity to a water source.
Step 2: Plan Your Bed Size
A great beginner size is 4 feet wide by 8 feet long. This allows easy access from all sides without stepping inside the bed, which compacts soil. Standard board height of 10–12 inches is enough for most root vegetables.
Step 3: Build the Frame
- Lay out two 8’ boards parallel and screw the 4’ boards between them to form a rectangle.
- Use 2–3 screws per corner. Add corner brackets if desired for extra strength.
- Double-check that your frame is square and level before proceeding.
Step 4: Prepare the Ground
Clear grass and debris from the spot. Lay down a thick layer of cardboard or landscape fabric to suppress weeds. Water it lightly to help it stay in place and start breaking down naturally.
Step 5: Fill the Bed
Fill the bed with a high-quality mix: 60% topsoil, 30% compost, and 10% peat moss or vermiculite. This blend retains moisture while allowing proper drainage. You can also buy “raised bed mix” from a landscape supplier or home improvement store.
Step 6: Optional Mulching
To conserve moisture and reduce weeds, top off your soil with 1–2 inches of mulch. Organic options include shredded leaves, straw, or bark chips.
Step 7: Plant and Maintain
Once your bed is filled, plant according to season. Cool-weather crops like lettuce, spinach, and carrots do well in spring and fall. Tomatoes, peppers, and basil thrive in summer.
- Water deeply 2–3 times a week.
- Fertilize monthly with organic or slow-release fertilizer.
- Watch for pests—raised beds make it easier to spot issues early.
Seasonal Tips for Raised Beds
| Season | Actions |
|---|---|
| Spring | Plant leafy greens, peas, onions; amend soil with compost |
| Summer | Grow tomatoes, peppers, cucumbers; mulch and water regularly |
| Fall | Plant garlic, spinach, kale; clean out summer crops |
| Winter | Cover soil with mulch or compost; plan spring layout |
Common Mistakes to Avoid
- Using treated lumber (can leach chemicals into soil)
- Filling with native clay soil without compost
- Building beds too wide—stick to 4' or less for reachability
- Planting too densely—leave space for growth and airflow
Helpful Add-ons
- Wire mesh bottom: Keeps out burrowing animals
- Drip irrigation: Automates watering and saves time
- Cold frame/lid: Extends growing season into fall and winter
- Trellis: Great for vining crops like cucumbers, peas, and beans
Estimated Cost Breakdown
| Item | Approx. Cost |
|---|---|
| Lumber (4 boards) | $30–$60 |
| Soil & compost | $40–$75 |
| Screws & tools (if needed) | $15–$25 |
| Mulch or fabric (optional) | $10–$20 |
Final Thoughts
Building a raised garden bed is one of the most rewarding and practical DIY lawn projects you can complete as a homeowner. It’s simple, customizable, and offers long-term benefits for your lawn’s look and your family’s table. Whether you’re growing tomatoes or tulips, this weekend project can make a lasting impact on your outdoor space.

